
The principles of quilting are essential if you want to learn how to do it yourself by hand. You’ll be able to produce a quilt for your house and one you’ll cherish for years if you follow the directions carefully.
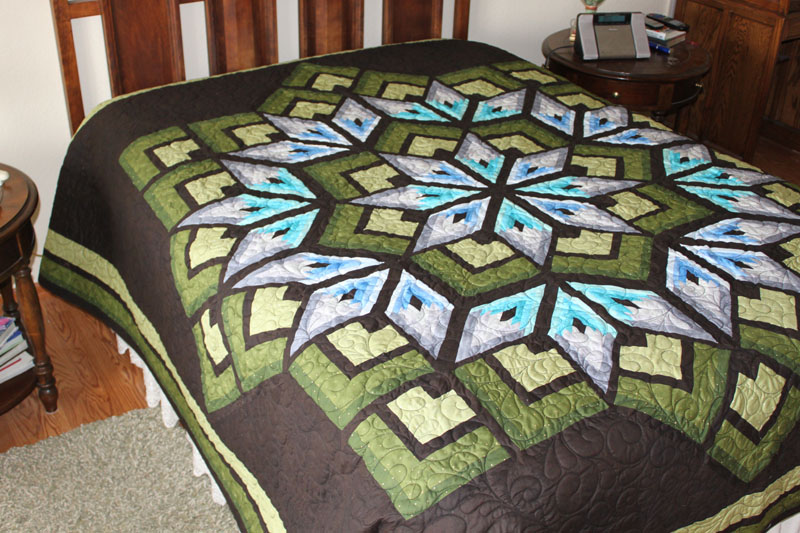
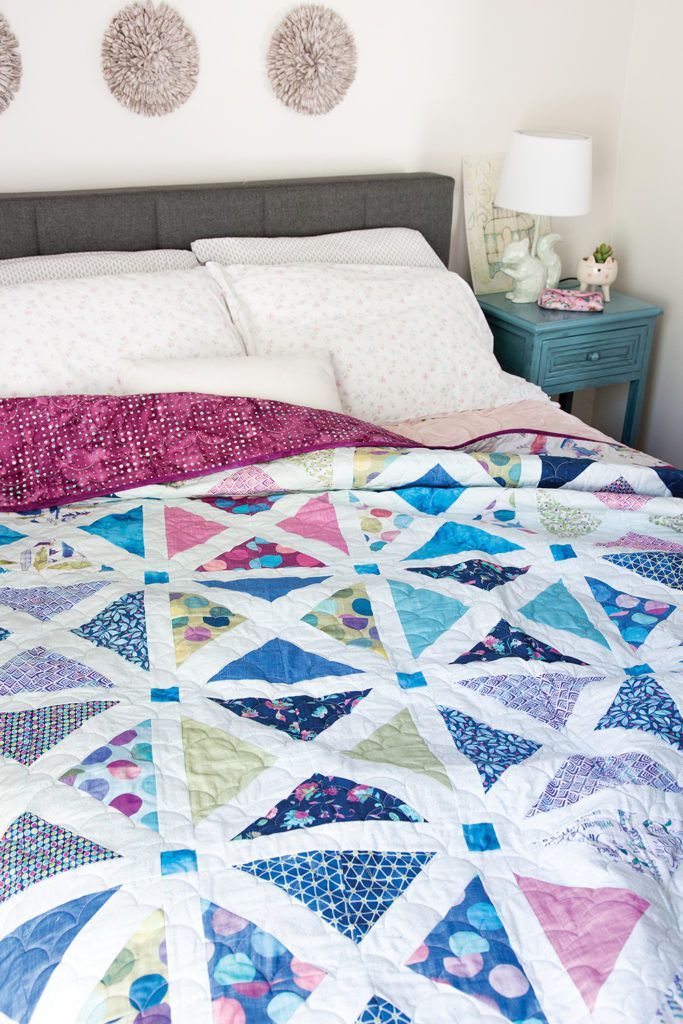
A quilt design is the first step in making a quilt.
It’s easy to find hundreds of designs online, and they’re reasonably priced. Find a design that captures your eye by looking at all of the options that are out there. The ones with a lot of seams, such as triangles, should be avoided. By hand, they are a challenge to complete since they need you to sew a piece together from two separate pieces of cloth. Beginners will find it simpler to work with a design that uses squares.
Cut the cloth.
Because knowing how many squares are in each row is critical before cutting any of your pieces, it’s imperative that you do it accurately before continuing. With a template as a guide, this process goes more smoothly. Getting acclimated to the varied fabric sizes may take some time, but once you do, it will be a breeze for you. To make a quilt out of a smaller piece of cloth, lay it flat and cut off one square at a time. To make smaller squares, you’ll only need to cut one piece at a time using this technique.
Create your first row by sewing fabrics together in various rows and then placing them on the quilt top. Your fabric pieces are now ready for sewing, so go ahead and get started. Each row is called an “applique,” which means stitched on top of each other, but there are only two ways to do it: “wrong sides together” or “right sides together.
Seams are sewn using the “wrong sides together” method are visible on the quilt’s outside. When you look at your quilt, you’ll notice the parts that have a different colour or design. Your initial row should be sewn together in the same direction so that when you sew it to the next piece, it will tell you where to go next.
Here’s what you should know before you buy a quilting kit:
If you want a stronger seam for your quilt or other objects, you should sew the “wrong sides together” seams. Pieces should be equal in colour and face toward one other while sewing right-side-together seams, so they will match up when they are sewed together. There will be no extra fabric at the seams created by sewing the garment with the wrong sides together.
Rows are known as “applique” because they are sewn on top of one other, and this is the fourth step in the process. As soon as the first row is finished, go on to sewing the rest of the rows together. The only thing you need to do is stitch two rows together at a time and then keep adding rows until the quilt is finished. When sewing rows together, there are no hard and fast rules, but you want to make sure that the seams line up so that there is no exposed fabric.
To finish the quilt, turn it right side out and smooth it before sewing the last row together , Once all of your rows are sewn together, it’s time to take a look at it from a distance to see if there is any excess fabric hanging out. If there is no excess fabric, you are pretty much finished! A tiny amount of cloth hanging out will cause the length to be longer than you intend. Trim any extra fabric from the quilt top so that it has a smooth, uniform finish. This will enhance the visual appeal of your quilt.
Discover more at quiltworkpatches.com