
Today we’ll go over how to get seamless playback in your DaVinci Resolve templates even if your machine is old and slow. Using a template with a lot of features, images, and modifications might cause your computer to work a little harder than usual.
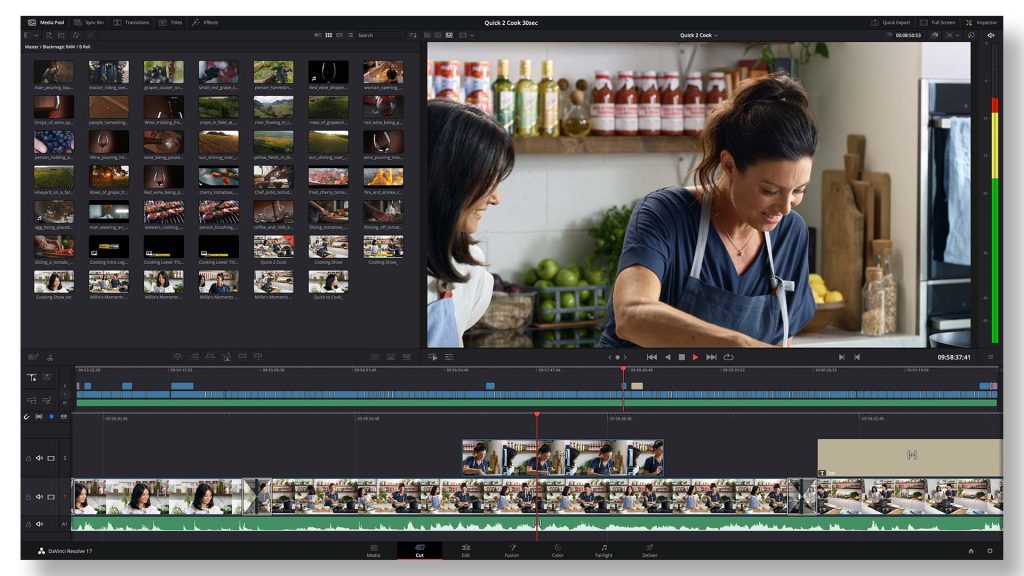
So we have a framework with our own material in the timeline, but it’s not playing back at full speed. We could see that it was choppy davinci resolve glitch effects, and the number of shown frames is fewer than our playback refresh rate of 24 frames per second. Fortunately, obtaining smooth playback in this type of circumstance is straightforward, and we’ll guide you through it step by step.
Domains and optimised media
Certain cameras record in compressed codecs like as H.264 or H.265 that are not intended for editing but rather for distribution. These files may cause your machine to struggle, particularly at higher rates. Even elevated computers ultimately hit a limit with high-resolution files and digital effects, so don’t be shocked if a 4K H.265 GoPro file slows down your machine.
Current Version includes a built-in solution to assist you overcome issue when editing. It’s known as optimal media. davinci resolve glitch effects allows you to produce files in a more editable format The advantage of utilising optimised media over proxies is that resolution builds these files dynamically and changes between them and the originals as needed.
The consequence is that these files cannot be shared with other editors or transferred to another machine. In DaVinci Resolve 17, you can now produce proxies as well. Proxies, like optimised media, are just exact copies files that have been transcoded to a more editable format.
The distinction is that these files can be saved and shared. It is frequently part of a more sophisticated workflow, but you should really conduct further study before incorporating it back into your life.
Rendering will only occur while you are not actively editing, ensuring that it does not interfere with your work. Items that are currently rendering will have a red bar behind them in the timelines, which will change blue once completed.
If you desire to make the render cache available to the user, you must first pick the clips to cache by right-clicking and choosing Render Cache Color Output. Using timeline proxy mode to enhance playback efficiency is a simple, fast, and non-destructive solution. This may be found in the recording menu. The resolution has no effect on the final render and just influences the timeframe. It is simple to turn on and off.
Another new feature in DaVinci Resolve 17 is the capability to render problematic clips while they are still in situ. This is especially useful for clips with a lot of effects or colour grading that aren’t playing method consists.
Right-click the image in the frame and choose Paint in Place, then follow the instructions to pick the data types, place where you want to store the file, and formats to rendered to. The only drawback to this approach is that in order to make adjustments to the clip again, you must right-click and select Organic materials to Video.
This allows you to edit on the original and then display again if necessary. This is in contrast to the render cache, which will re-render whenever there is a modification. Furthermore, it saves resources and energy when only one or two clips are a challenge.